Banked enables anyone to pay directly with their bank accounts, from topping up a wallet in an app to paying for clothes. In this post, we'll show you all the steps necessary to go from only taking credit cards, to enabling the next generation of secure, fast online payments.
Our example store is a Nuxt.js app, it has a static list of products (three types of sneakers) and two screens: a landing page that shows the products; and a cart page where customers can view their cart and checkout.
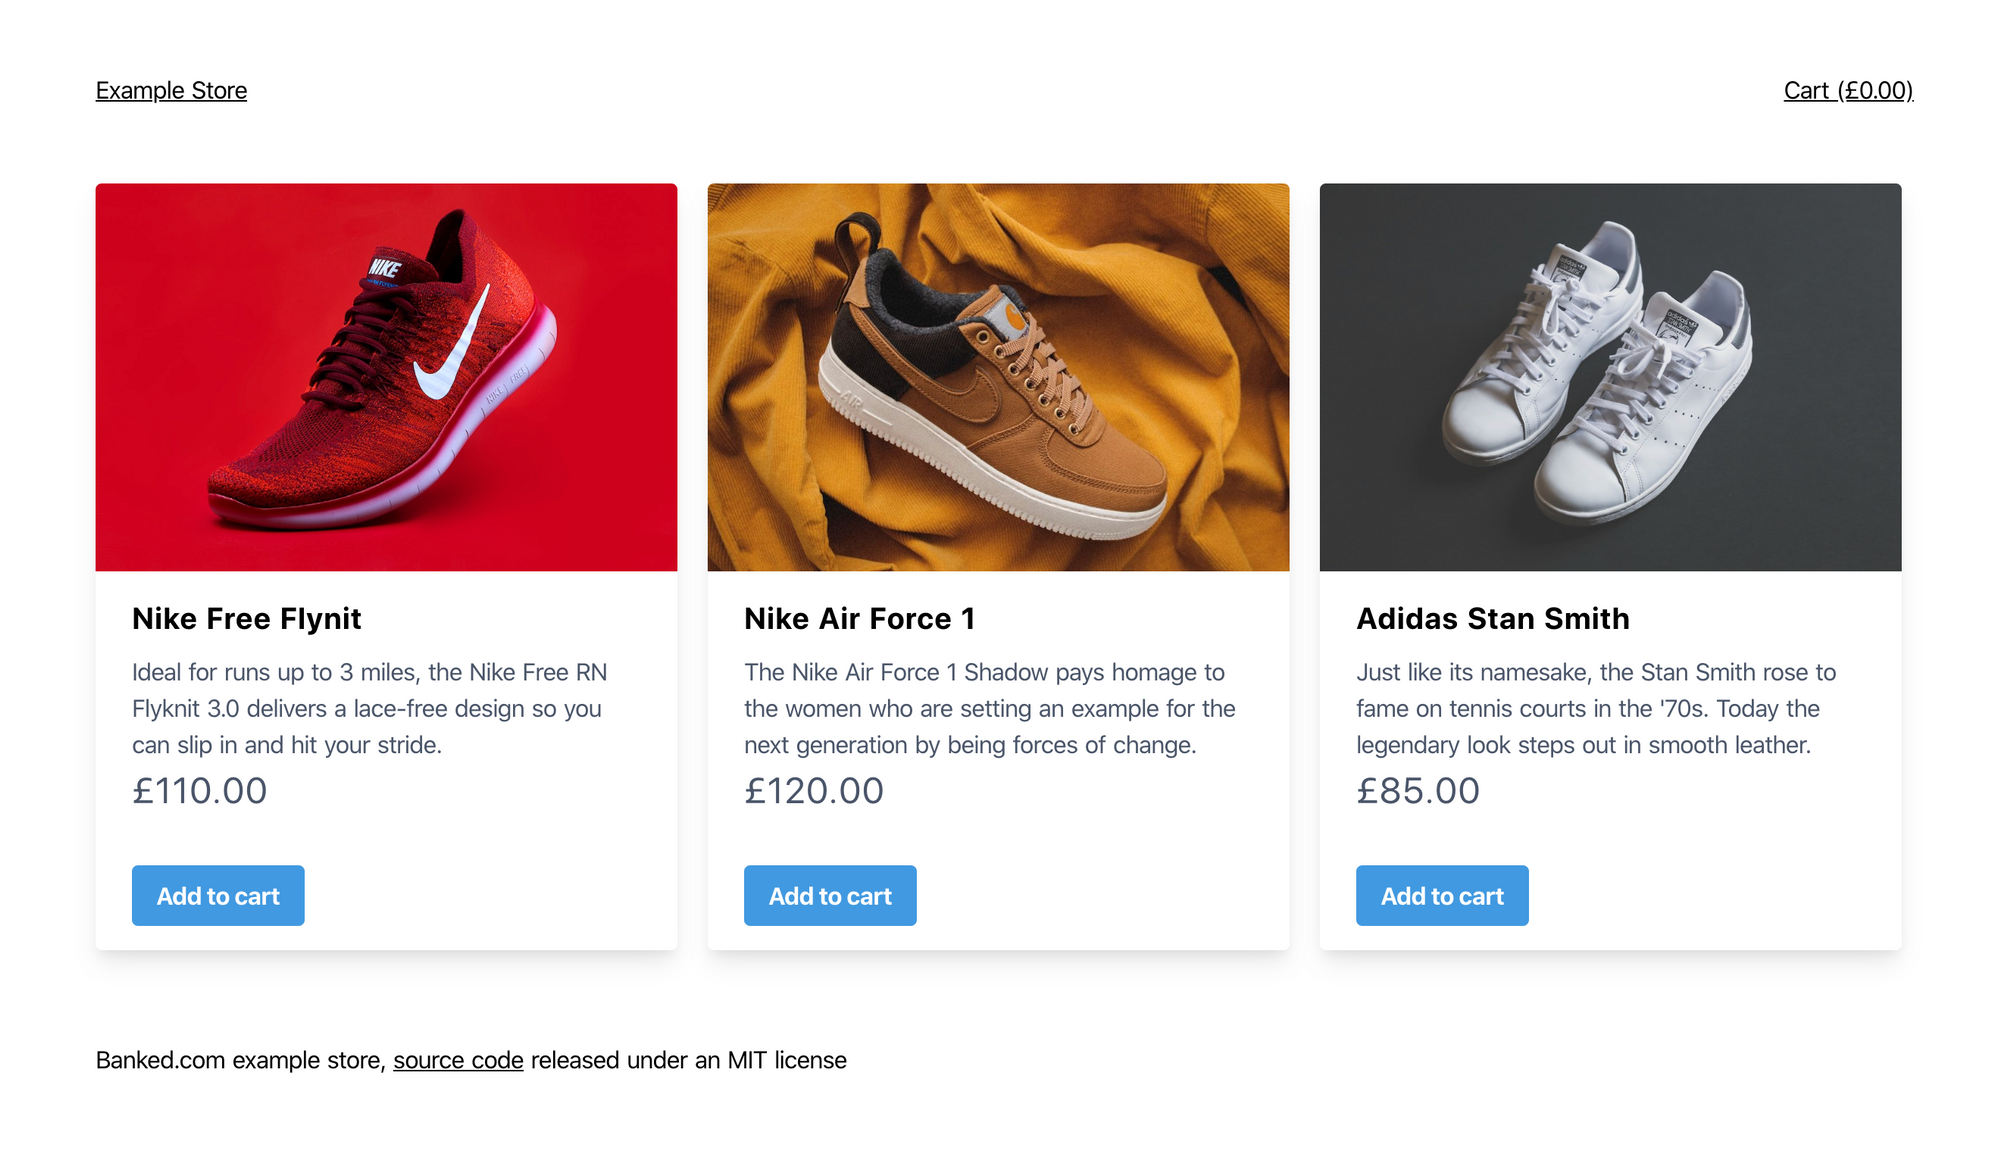
The code we'll be working through is available on Github (released under an MIT license) and you can deploy your own version of the example store to Heroku with one click, via the button in the README.md. You can also view the deployed store and see how it works!
For the purposes of this post, we'll assume the store already exists, it lists products and has a checkout page - without any payment methods yet. As such, we're going to be making three changes to the code:
- Adding a button to the checkout page, with some logic to redirect a user to Banked's checkout flow
- Adding the ability for the customer to earn Avios points as a part of their purchase
- An API route, which takes a JSON representation of the customer's cart, makes an API call to Banked with it and creates a payment, then returning the checkout URL so the front-end can redirect to it
Adding the Banked checkout button
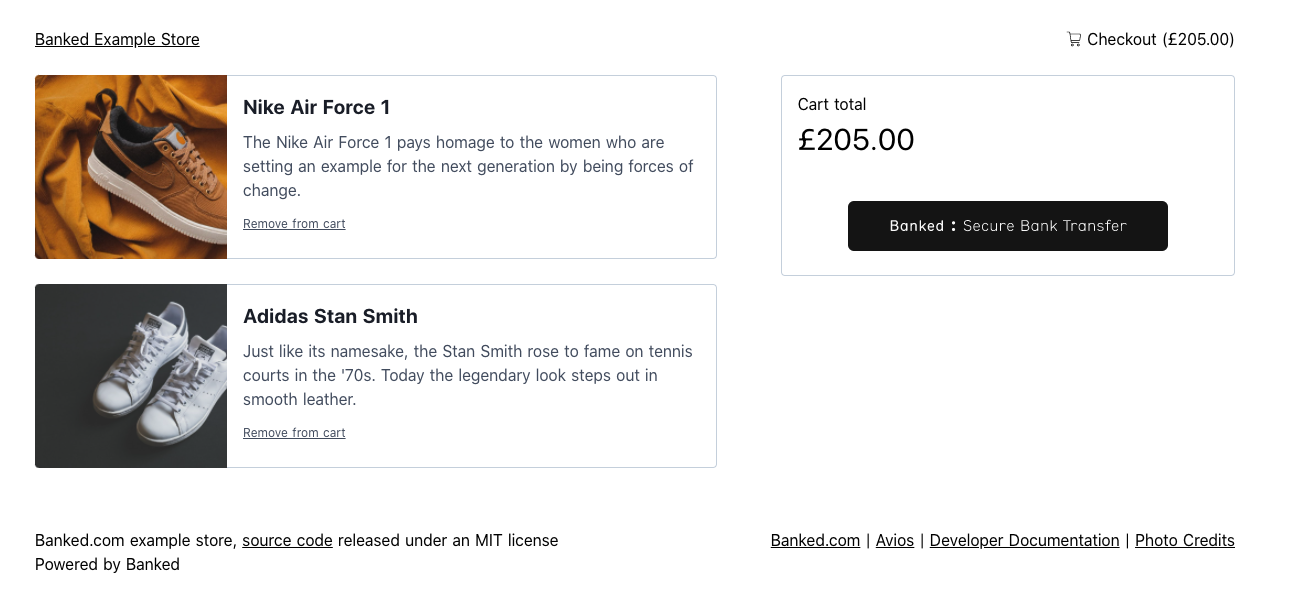
The checkout page before we start is straightforward, it has two columns in its layout (when viewed with a large screen):
- On the left it takes an array of cart items from the appropriate Vuex store and renders them
- On the right it shows a total for the cart
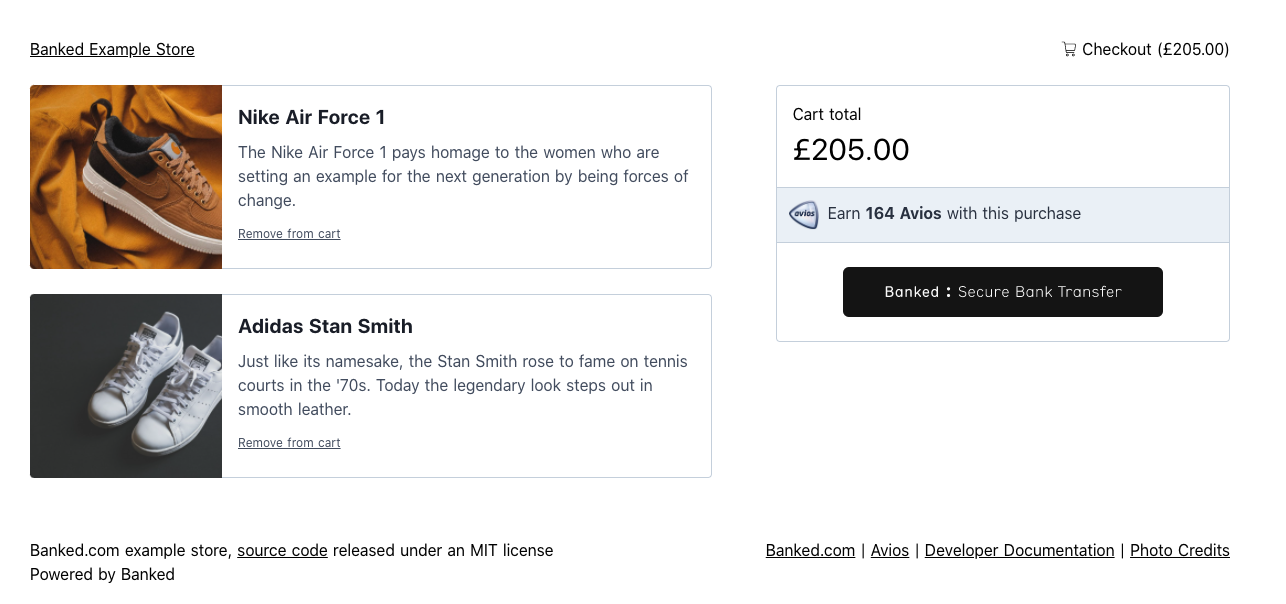
We want to add a button to enable our customers to pay with Banked. We will use tailwind.css to manage the appearance of our checkout button. In this context it's done using the Tailwind m-auto, mb-6 and mt-6 classes. It also uses Vue's built in event handlers to attach to its click event (via @click). We reference an SVG file for the button image:
<a
  id="banked-btn"
  href="#"
  class="m-auto mb-6 mt-6 block"
  @click="checkout(cart, $event)"
>
  <img src="/images/banked-button.svg" alt="Checkout with banked" />
</a>
We can also make checkout with Banked more enticing by offering Avios points with the purchase.
<div
  id="avios"
  class="p-3 bg-gray-200 inline-block w-full border-gray-400 border border-l-0 border-r-0"
>
  <img id="avios-logo" src="/images/avios.png" alt="Avios" />
  <span class="text-gray-800 ml-1"
    >Earn <span class="font-bold">{{ avios }} Avios</span> with this
    purchase</span
  >
</div>

With our button on the page, we can implement the checkout method in our Vue component. It needs to do four things:
- Prevent the default behaviour of a button being submitted. We don't want the page to refresh if our button is wrapped in a "" tag.
- Make an HTTP POST to our API, in the process sending a JSON representation of the users cart.
- When the API returns a link to a Banked checkout, redirect the user to the URL.
- If there's an error with our API then show the user a message about what's happened.
We don't want to implement the request primitive ourselves, so we'll use axios, which is conveniently included in Nuxt as a plugin. Our implementation starts off looking like this:
import axios from "axios";
// -- snip

export default {
  // -- snip
  methods: {
    checkout(cart, e) {
      e.preventDefault();
    },
  },
};
We've removed some of the boilerplate from the JavaScript, but in essence we've included axios using JavaScript modules, and then implemented our checkout function. We've also called e.preventDefault on the button's event (passed as the second argument to our function) to stop the unintended page reload. Next we'll implement the call to the backend API:
// -- snip
async checkout (cart, e) {
  e.preventDefault()
  try {
    const res = await axios.post('/api/v1/checkout', cart, {
      timeout: 10000
    })
    global.location.replace(res.data.url)
  } catch (e) {
    console.log('Something went wrong', e)
  }
}
You'll notice we've added the async keyword to our function definition, which enables us to use await within our function. We call axios.post to send data to our backend API, which we'll assume for now is located at /api/v1/checkout.
The cart variable we serialise is an array of cart items (see ./store/cart.js in the Github repo for more information) in a format like this:
const cart = [
  {
    name: "Nike Free Flynit",
    description:
      "Ideal for runs up to 3 miles, the Nike Free RN Flyknit 3.0 delivers a lace-free design so you can slip in and hit your stride.",
    amount: 110,
    image: "/images/product-1.jpg",
    cartID: "45429317-eaf5-4c93-b0cd-bd2a8ffe26b0",
    quantity: 1,
  },
];
We also set a 10000 millisecond timeout on our request, so if something does go wrong we don't leave the user with no information about the issue; we're also just logging the error if there is one.
If we want to give the user a better experience than needing to open their development console to see what's wrong. We also set a value into our Vue component.
export default {
  // -- snip
  data() {
    return {
      error: null,
    };
  },
  // -- snip
  methods: {
    async checkout(cart, e) {
      e.preventDefault();
      try {
        const res = await axios.post("/api/v1/checkout", cart, {
          timeout: 1000,
        });
        global.location.replace(res.data.url);
      } catch (e) {
        this.error = e; // <-- tell our component there's an error
      }
    },
  },
};
We can then add a message to our cart page to help our customer know if something's gone wrong:
<div
  v-if="error"
  class="bg-red-100 border border-red-400 text-red-700 px-4 py-3 rounded relative mb-8 checkout-error"
  role="alert"
>
  <strong class="font-bold">Something went wrong!</strong>
  <span class="block sm:inline"
    >Something went wrong checking you out, please try again</span
  >
</div>
You can ignore the Tailwind utility classes being added to make it look nice, the important functional element is the v-if="error" which will show this component if there's an error.
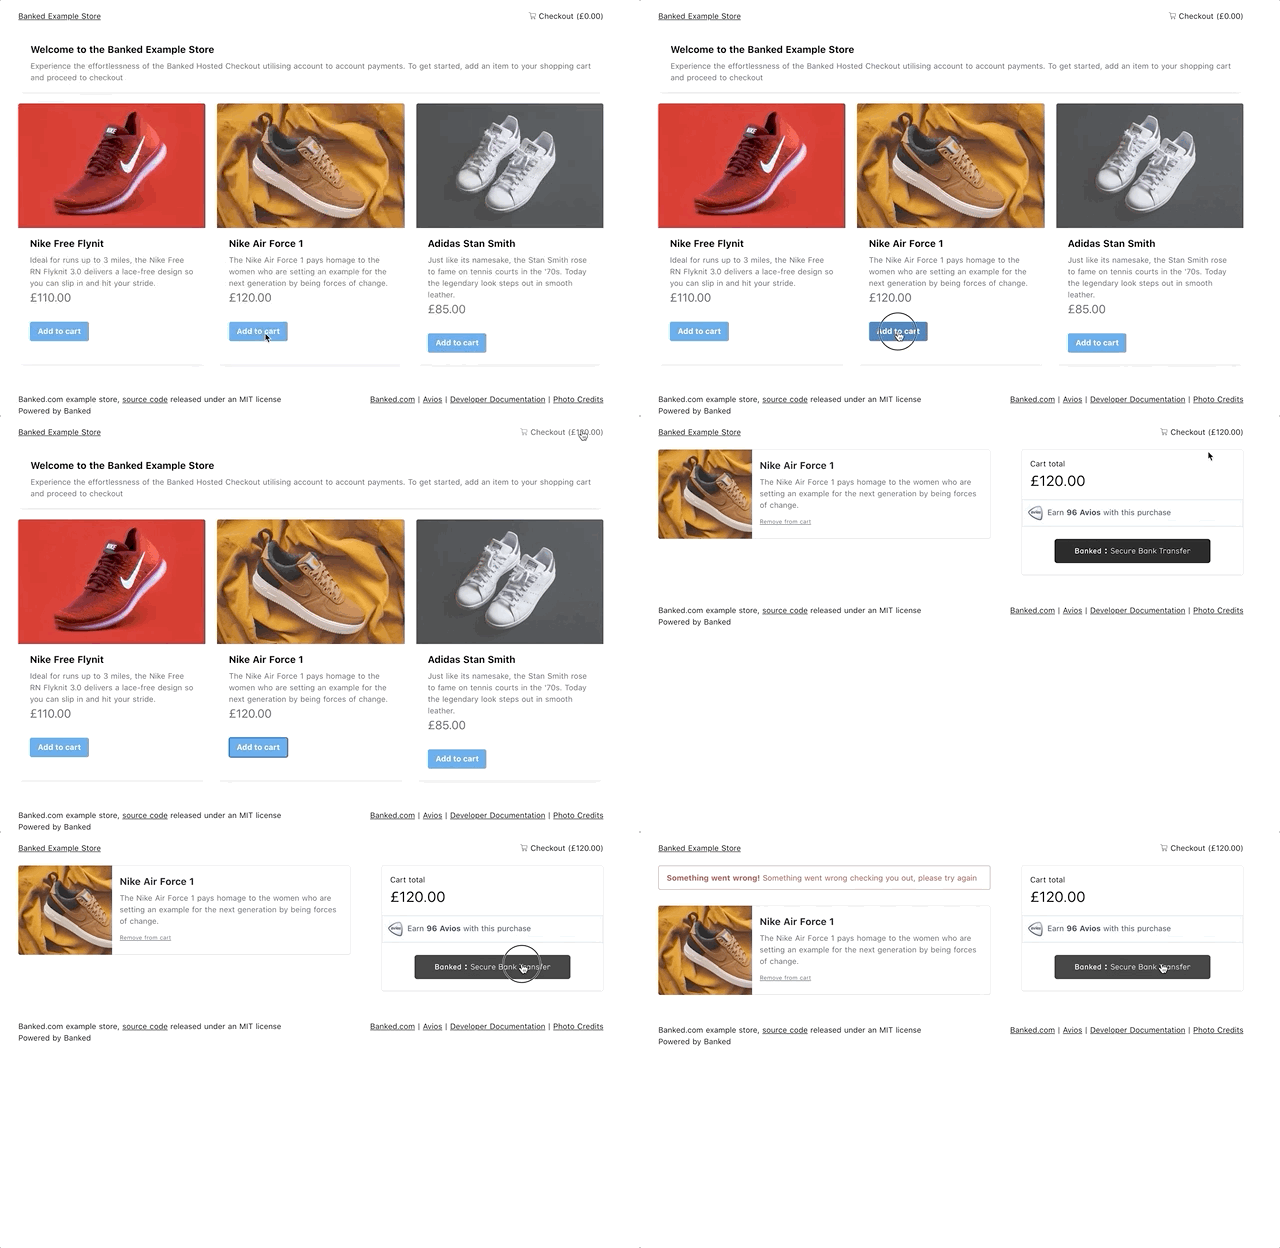
So now we have a nice looking front-end for our store!
But it doesn't work end-to-end yet 😞
Creating the API route to interact with Banked's API
We now need to implement our store's API to interact with Banked's API to create a payment. The image below shows the payment flow:
We need to use the API for several reasons:
- To authenticate our requests as we don't want those to be in the client.
- We want to create the payment in a controlled, secure environment. You don't want users intercepting the call to Banked and changing the price to a single penny!
- There is additional information necessary to create a Banked payment besides the items and the total amount, such as the account number and sort code of the destination account. We don't want that publicly available either!
We're going to be using a combination of Nuxt's built-in serverMiddleware and the Node.js framework ExpressJS. We chose this approach because of how easy it is to integrate with Nuxt's build and deployment toolchain.
To tell Nuxt to register our API route and where to find our handler, we need to add some configuration to ./nuxt.config.js:
module.exports = {
  // -- snip
  serverMiddleware: ["~/server/api"],
};
This tells Nuxt to load the ./server/api.js file and expose the routes it declares. Our first implementation of ./server/api.js is only a few lines:
const express = require("express");
const app = express();

app.use(express.json());

app.post("/", async function (req, res) {
  console.log(req.body);
  res.send({
    url: "https://example.com",
  });
});

export default {
  path: "/api/v1/checkout",
  handler: app,
};
It imports Express as a dependency, initialises it and declares a single route. The export contains an object with two properties:
pathis the base path Nuxt will mount and direct traffic to, we choose/api/v1/checkouthandleris the Express instance Nuxt will use to route traffic and mount the server, and we pass in the Express app created in the lines above
We're also creating a single route which only accepts an HTTP POST. The handler then logs the body of the POST request to the console and returns a JSON object to our front-end, which now sort of works end-to-end:

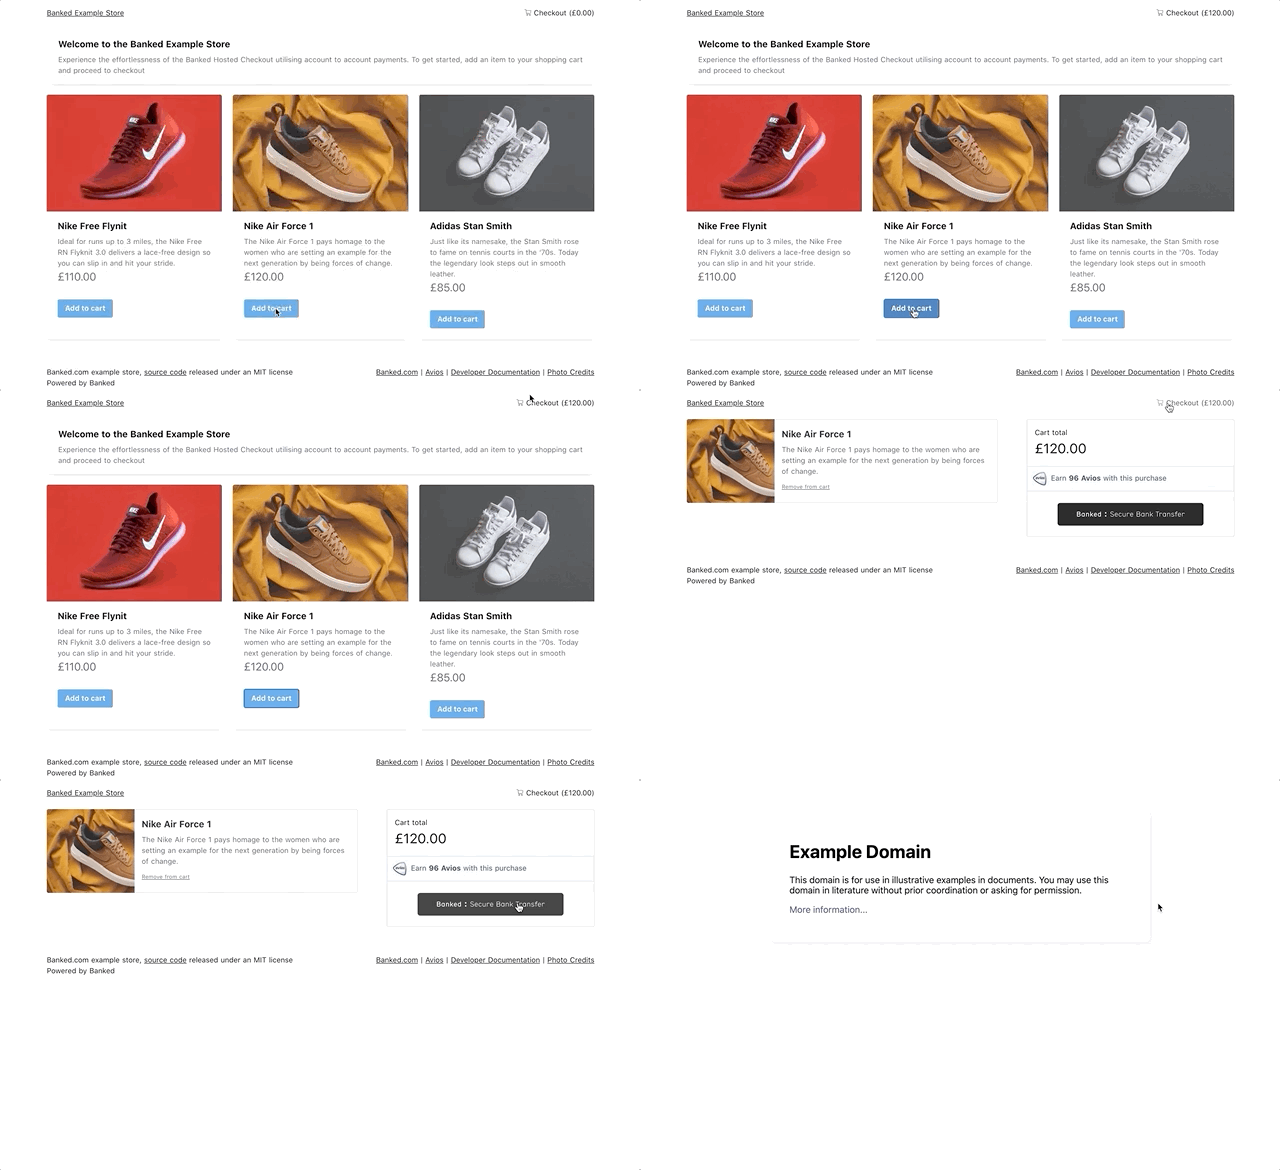
Implementing the interaction with Banked's API is the next step, so we can return the proper URL to our front-end. Using the Banked API requires the appropriate authentication credentials:
const Banked = require("@banked/node");
// -- snip
const banked = new Banked({
  //Authentication goes here
});
// -- snip
app.post("/", async function (req, res) {
  try {
    const bankedResponse = await banked.payments.create(req.body);
    res.send({
      url: bankedResponse.data.url,
    });
  } catch (e) {
    console.error(e);
  }
});
// -- snip
There are a few important things to look at:
- We're using Axios again (conveniently already in our package.json!) to POST our JSON to Banked's API.
- We're including authentication credentials in the auth headers. We will source the authentication values from environment variables we'll set before our Nuxt app runs.
- We're wrapping everything in a try/catch, so we can log what happens if something goes wrong.
When we run this you'll quickly realise something has gone wrong, we're passing our cart payload directly to Banked without any of the other information Banked needs to create a payment! So let's add that functionality:
// -- snip
const hydrateRequest = (body) => {
  return {
    reference: "Banked Demo",
    success_url: `${process.env.BASE_URL}/cart/success`,
    error_url: `${process.env.BASE_URL}/cart/error`,
    line_items: body.map((item) => {
      return {
        name: item.name,
        amount: item.amount * 100, // Amount is sent in whole pennies/cents
        currency: "GBP",
        description: item.description,
        quantity: item.quantity,
      };
    }),
    rewards: [
      {
        type: "avios",
      },
    ],
    payee: {
      name: process.env.PAYEE_NAME,
      account_number: process.env.ACCOUNT_NUMBER,
      sort_code: process.env.SORT_CODE,
    },
  };
};

app.post("/", async function (req, res) {
  try {
    const bankedResponse = await axios.post(
      "https://api.banked.com/v2/payment_sessions",
      hydrateRequest(req.body),
      {
        auth: {
          username: process.env.BANKED_API_KEY,
          password: process.env.BANKED_API_SECRET,
        },
      },
    );
    res.send({
      url: bankedResponse.data.url,
    });
  } catch (e) {
    res.sendStatus(500);
  }
});
// -- snip
We've added our hydrateRequest function that wraps and enhances our cart with the additional information needed to create a payment request in Banked. There are some other variables we use as part of the implementation we source from environment variables, through process.env these are:
BASE_URLis a string representing the domain where this site is deployed (e.g. "https://example.com" or "https://localhost:3000"). This is used for constructing the callback URLs Banked's hosted checkout will redirect to on success or error of the payment.PAYEE_NAMEis the name associated with the bank account payments will be made into.ACCOUNT_NUMBERis the bank account number the payments will be made intoSORT_CODEis the sort-code of the account the payments will be made into
If we set these environment variables and run the request from the front-end it should now work as expected! 🎉
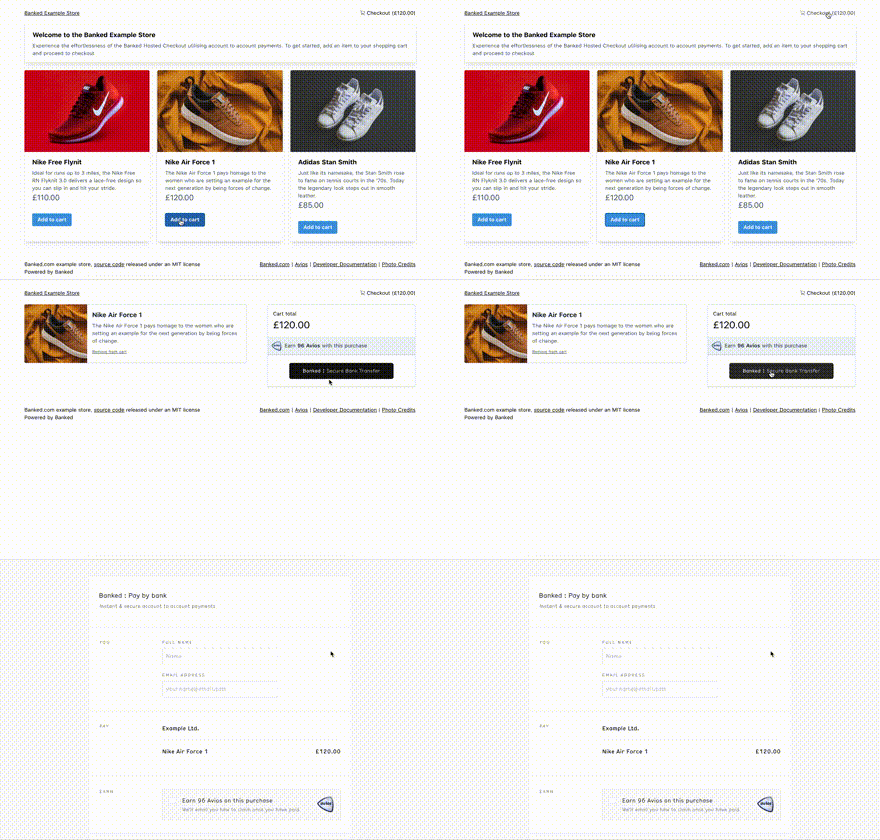
That's it! Hopefully you've seen in this post how easy it is to add fast, secure direct bank payments to your store or app. You can signup for an account and getting testing in less than a minute.
The code for this post is all available on Github, where you can fork and play it as you see fit. There's also a test suite built you can look at for further information on how this example store works!